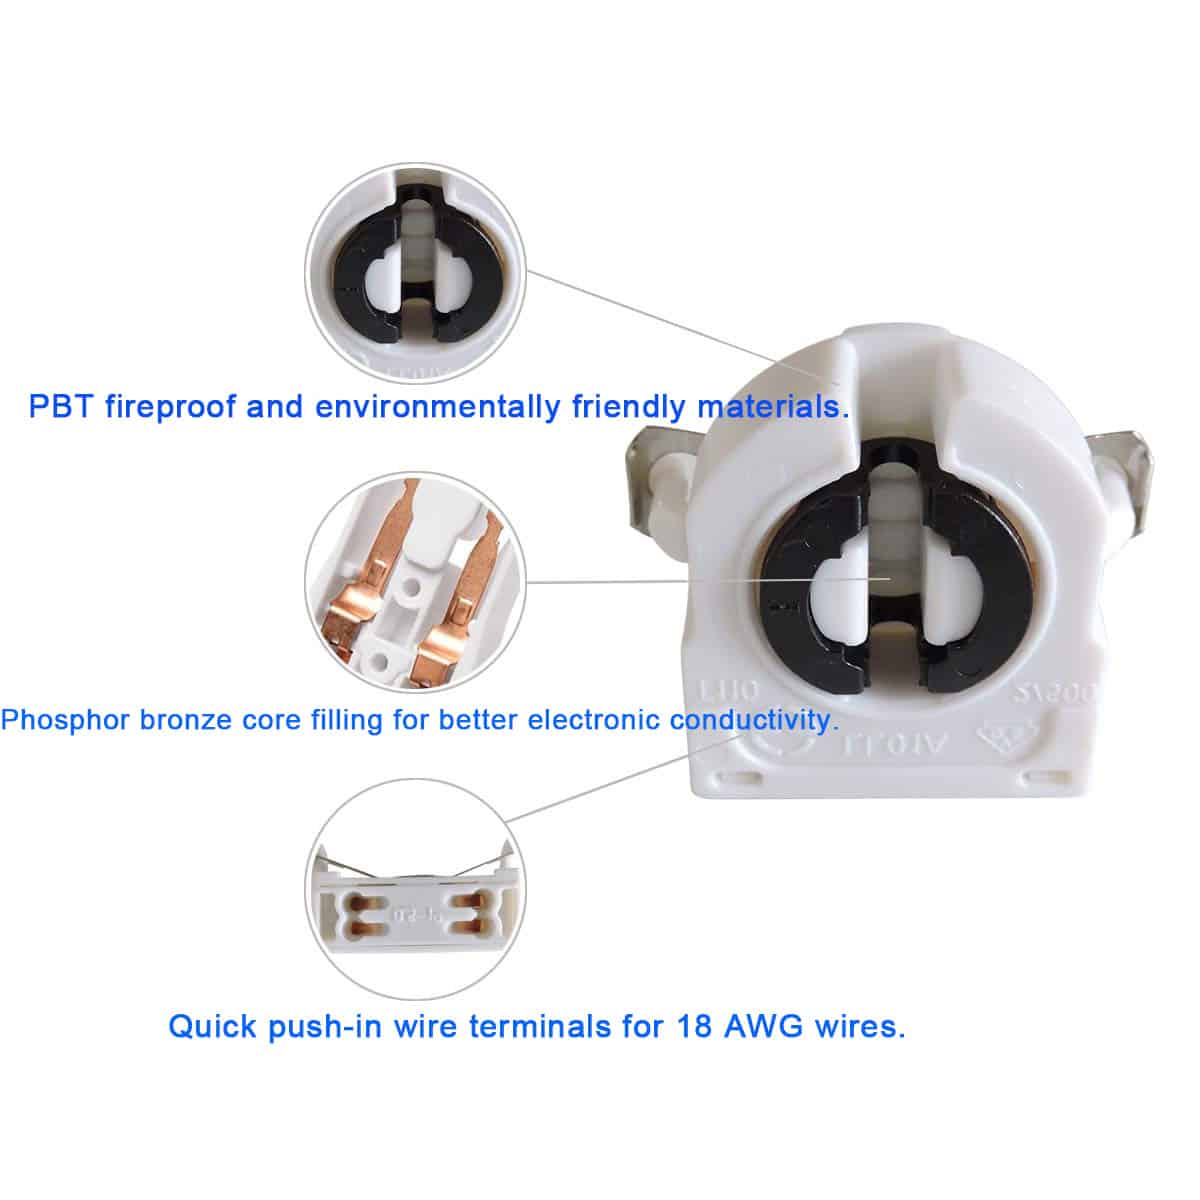
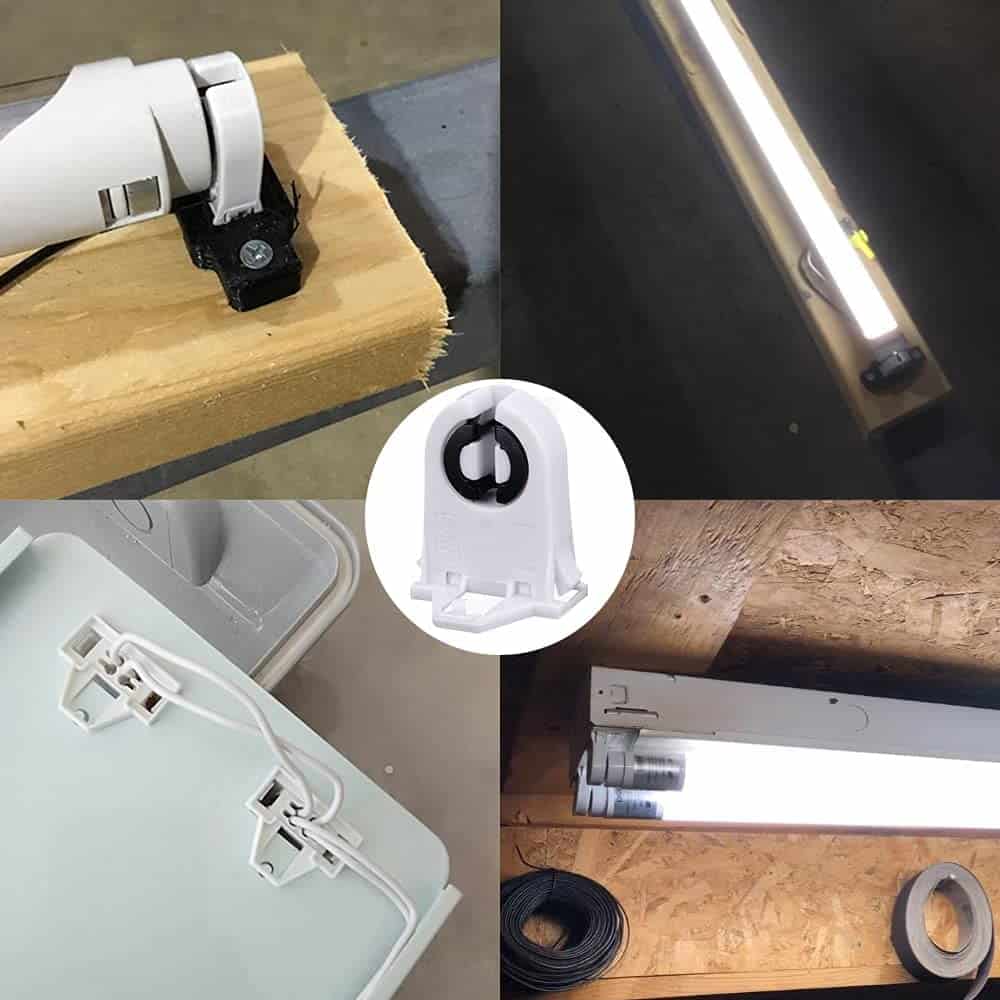
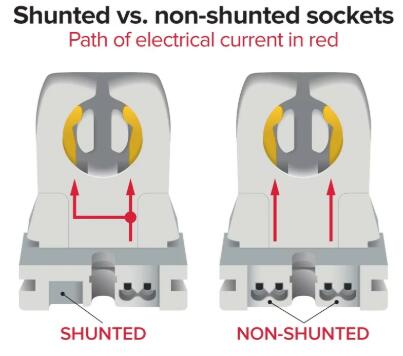
Can fluorescent light sockets be replaced?
Yes, based on my experience, fluorescent lamp sockets can be replaced. If a socket is damaged or has become worn over time, it can affect the performance of the lamp and can even be a safety hazard.
Replacing the socket is a relatively simple process that can be done with a few tools and some basic electrical knowledge.

However, it is always recommended to consult an electrician if you are unsure about the safety or technical aspects of the replacement process.
To replace a fluorescent lamp socket, you will need the following tools:
1. Screwdriver
2. Needle-nose pliers
3. Voltage tester
4. New socket.
Here are the steps to replace a fluorescent lamp socket:
Turn off the power to the fixture: Before starting the replacement, make sure to turn off the power to the fixture by flipping the circuit breaker or removing the fuse.
Remove the old socket: Use a screwdriver to remove the screws that secure the old socket to the fixture. Carefully pull the socket from the fixture, taking care not to damage the wiring.

Disconnect the wires: Use needle-nose pliers to gently loosen the wire nuts that connect the wires to the old socket. Carefully remove the wires from the old socket.
Install the new socket: Connect the wires to the new socket using the wire nuts provided. Make sure the connections are tight and secure.
Mount the new socket: Carefully insert the new socket into the fixture and secure it with the screws.
Test the circuit: Use a voltage tester to check that the circuit is properly connected and there is no electrical current flowing through the wires.
Install the lamp: Once you have confirmed that the circuit is safe, install the lamp into the new socket.

It is important to follow these steps carefully to ensure that the replacement process is safe and effective. If you are unsure about any aspect of the process, it is recommended to consult an electrician.
